Air Hockey Table Surface Repair - Restoring The Playing Surface For Optimal Gameplay
It's enjoyable to play air hockey and is a fantastic method to have fun while also getting rid of some extra energy. However, air hockey tables need to be serviced since they become damaged, just like anything else in the world. Fortunately, air hockey table surface repair techniques exist to restore the playing surface and ensure optimal gameplay.
Author:James DavisJul 13, 202315.2K Shares695.1K Views
It's enjoyable to play air hockey and is a fantastic method to have fun while also getting rid of some extra energy. However, air hockey tables need to be serviced since they become damaged, just like anything else in the world. Fortunately,air hockey table surface repairtechniques exist to restore the playing surface and ensure optimal gameplay.
Perhaps you just bought a table with a crack and want to know how to mend it. Remain cool if you've noticed problems with your air hockey table surface because this article discusses every aspect of your problem.
In this article, we delve into the air hockey table surface repair process, outlining various repair methods and tips for achieving a smooth and functional playing surface.
Assessing The Damage
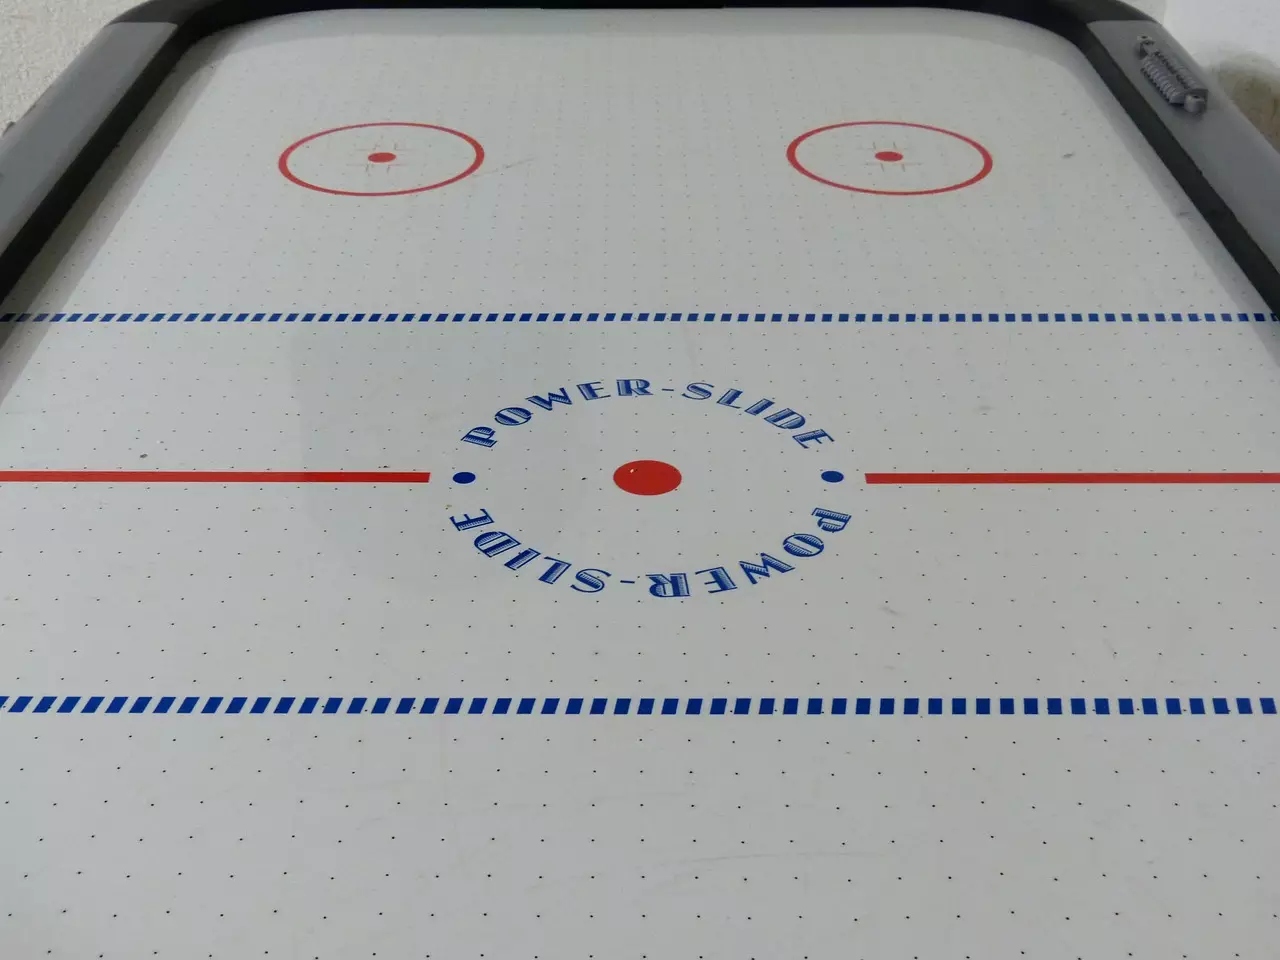
Assessing the damage is an essential first step in the process of repairing an air hockey table surface. This step allows you to identify areas that require attention, understand the extent of the damage, and determine the appropriate repair methods.
By thoroughly assessing the damage, you can develop a targeted approach to restore the playing surface to its optimal condition. Here are key considerations when assessing the damage:
- Scratches - Inspect the surface of the air hockey table for scratches. Scratches are common and can occur from the movement of the puck or accidental contact with hard objects. Take note of the depth and length of the scratches, as well as their distribution across the playing surface.
- Chips - Chips refer to small sections of the playing surface that have been broken or chipped away. These can occur due to impacts, accidents, or wear and tear over time. Look for any visible chips or irregularities in the surface that may affect gameplay.
- Scuffs and Wear - Evaluate the overall condition of the playing surface. Look for signs of scuff marks or worn areas, particularly in high-traffic zones where the puck frequently moves. These scuffs and wear marks may affect the smoothness and glide of the puck, requiring attention during the repair process.
- Warping or Uneven Surface - Check for any signs of warping or unevenness in the playing surface. Warping can occur due to changes in humidity or temperature, improper storage, or poor-quality construction. Uneven surfaces can disrupt the puck's movement and impact gameplay. Ensure that the playing surface is level and smooth for optimal performance.
Once you have assessed the damage and identified the areas in need of repair, you can move on to the next step: filling and repairing scratches and chips.
Filling And Repairing Scratches And Chips
Scratches and chips on an air hockey table surface can affect the glide of the puck and impede gameplay. Repairing these imperfections is crucial for restoring a smooth playing surface. The following steps outline how to effectively fill and repair scratches and chips on an air hockey table:
- Clean the Area -Start by cleaning the scratched or chipped area to remove any dirt, dust, or debris. Use a mild soap solution and a soft cloth or sponge to gently clean the damaged surface. Ensure the area is completely dry before proceeding to the next step.
- Choose a Suitable Filler -Select a suitable filler based on the material of your air hockey table. Epoxy or wood putty are commonly used for filling scratches and chips. Follow the manufacturer's instructions for the specific filler you choose, including mixing ratios and curing times.
- Apply the Filler - Using a putty knife or a similar tool, carefully apply the filler to the scratched or chipped area. Fill the damaged section, ensuring that the filler is level with the surrounding surface. Smooth out the filler to create an even and consistent finish. Avoid applying excessive filler, as it may require additional sanding and leveling.
- Allow the Filler to Cure - Allow the filler to cure fully according to the manufacturer's instructions. This typically takes several hours or overnight. During the curing process, ensure the repaired area is protected from any disturbance or contact.
- Sand and Smooth the Surface - Once the filler has fully cured, use fine-grit sandpaper to sand and smooth the repaired area. Start with a higher grit sandpaper to remove any excess filler and gradually progress to finer grits for a smoother finish. Sand in a circular motion, blending the repaired area with the surrounding surface. Continue sanding until the surface feels smooth and the repaired section is indistinguishable from the rest of the playing surface.
- Clean and Inspect - After sanding, clean the playing surface to remove any residual dust or debris. Inspect the repaired area to ensure a seamless and consistent surface. Make any necessary adjustments or additional filling if required.
Sanding And Smoothing The Surface
Sanding and smoothing the surface of an air hockey table is a crucial step in the repair process. This stage involves refining the repaired areas, removing imperfections, and ensuring a seamless transition between the repaired sections and the rest of the playing surface.
By following proper sanding techniques, you can achieve a flawless playing surface that promotes optimal puck glide and enhances gameplay. Here's a detailed guide on sanding and smoothing the surface of an air hockey table:
- Gather the Right Tools -Before starting the sanding process, gather the necessary tools. You will need fine-grit sandpaper (around 220-400 grit), a sanding block or a sanding tool, and a soft cloth or vacuum cleaner to remove sanding dust.
- Start with Higher Grit Sandpaper - Begin sanding the repaired areas and the surrounding surface using higher grit sandpaper. The initial sanding helps remove any excess filler and create a smooth transition between the repaired sections and the rest of the playing surface. Sand in a circular motion, applying light pressure, and keep the sanding strokes consistent.
- Gradually Progress to Finer Grits -As you progress with sanding, gradually switch to finer grit sandpapers. This helps refine the surface further, ensuring a smoother finish. Finer grit sandpapers remove any remaining roughness and create a uniform texture across the playing surface. Continue sanding in circular motions, checking the smoothness of the surface regularly.
- Inspect the Surface - Regularly inspect the surface to assess its smoothness. Run your hand gently over the sanded area to feel for any unevenness or imperfections. If you notice any areas that require additional attention, focus on sanding those areas until they blend seamlessly with the surrounding surface.
- Clean the Surface - After sanding, clean the playing surface thoroughly to remove any sanding dust or debris. Use a soft cloth or a vacuum cleaner to ensure a clean working area. Cleaning the surface is crucial to achieve an optimal bond between the surface and the new coating.
Applying A New Coating
Applying a new coating to the air hockey table surface is the final step in the repair process. A new coating not only protects the surface but also enhances its appearance and performance. Here's a step-by-step guide to applying a new coating:
- Select the Right Coating - Choose a suitable coating for your air hockey table based on the material of the playing surface. Common options include polyurethane, lacquer, or specialty coatings designed specifically for air hockey tables. Consider factors such as durability, resistance to scratches, and compatibility with the table material.
- Follow Manufacturer's Instructions - Carefully read and follow the manufacturer's instructions regarding the application process, drying time, and any specific preparation steps. Different coatings may have specific requirements, so ensure you understand the guidelines before proceeding.
- Prepare the Surface - Before applying the new coating, prepare the surface by cleaning it thoroughly. Remove any dust, debris, or contaminants that may interfere with the coating's adherence. Use a mild soap solution or specialized surface cleaners to ensure a clean surface. Dry the playing surface completely before applying the new coating.
- Apply the Coating - Apply the coating evenly and smoothly, following the manufacturer's instructions. Use a brush, roller, or sprayer, depending on the recommended application method. Start from one end of the table and work your way to the other, applying the coating in thin and even layers. Avoid applying too much coating at once, as it may lead to drips, bubbles, or uneven surfaces.
- Allow Sufficient Drying Time -Once the coating is applied, allow it to dry completely based on the manufacturer's instructions. Ensure proper ventilation in the room to aid the drying process. Avoid using the air hockey table until the coating is fully cured to prevent any damage or imperfections.
- Optional Additional Coats -If desired, apply additional coats of the coating to achieve the desired finish and durability. Follow the recommended drying time between coats and ensure proper preparation of the surface before applying subsequent layers.
Polishing And Buffing
Polishing and buffing the air hockey table surface is an important step in the repair process. This stage involves refining the surface, removing any remaining imperfections, and enhancing its overall appearance.
By properly polishing and buffing the surface, you can achieve a sleek and professional finish that enhances gameplay and prolongs the lifespan of the table. Here's a detailed guide on polishing and buffing an air hockey table surface:
- Gather the Right Tools - Before starting the polishing and buffing process, gather the necessary tools. You will need a fine polishing compound, a soft cloth or buffing pad, and an electric buffer or a polishing machine. Ensure that the polishing compound is suitable for the material of your air hockey table.
- Apply the Polishing Compound - Apply a small amount of the polishing compound to the soft cloth or buffing pad. Spread the compound evenly across the surface of the cloth or pad. Make sure not to use too much compound, as a little goes a long way.
- Start the Polishing Process - With the polishing compound applied, gently move the cloth or buffing pad in a back-and-forth or circular motion over the air hockey table surface. Apply light pressure and work in small sections at a time. The polishing compound helps remove any remaining imperfections, fine scratches, or dullness, resulting in a smoother and more lustrous finish.
- Continue Polishing - Continue polishing the entire playing surface, paying extra attention to areas that require additional buffing. Keep the cloth or buffing pad clean and periodically apply more polishing compound as needed. Be patient and thorough during this process to achieve a consistent and high-quality finish.
- Inspect the Surface -Regularly inspect the surface as you polish to ensure that you are achieving the desired results. Run your hand gently over the surface to check for any remaining imperfections or rough spots. If necessary, continue polishing those areas until they blend seamlessly with the rest of the surface.
- Clean the Surface -After polishing, clean the playing surface to remove any residual polishing compound or debris. Use a soft, clean cloth or a specialized surface cleaner to ensure a clean and pristine finish. This step prepares the surface for the final stage of buffing.
Regular Maintenance
Regular maintenance is crucial for preserving the repaired air hockey table surface and ensuring its longevity. By establishing a routine maintenance regimen, you can keep the surface in optimal condition and extend its lifespan. Here are some essential tips for regular maintenance:
- Clean the Surface - Regularly clean the playing surface using a soft cloth or a mild, non-abrasive cleaner. Remove any dust, dirt, or debris that may accumulate during gameplay. Avoid using harsh chemicals or abrasive materials that can damage the surface.
- Inspect for Wear and Tear - Periodically inspect the surface for any signs of wear and tear. Check for scratches, scuffs, or chipped areas that may require touch-ups or further repairs. Addressing these issues promptly helps prevent further damage and ensures consistent gameplay.
- Address Issues Promptly -If you notice any new scratches, chips, or damage on the surface, address them promptly. Follow the appropriate repair techniques to fix the specific issue and restore the playing surface to its optimal condition. Timely repairs prevent further deterioration and maintain the quality of gameplay.
- Avoid Excessive Force or Sharp Objects -Encourage players to avoid using excessive force or striking the surface with sharp objects. Educate players about the importance of treating the air hockey table with care and respect. Discourage actions that may cause unnecessary damage to the surface.
- Store Properly -When not in use, store the air hockey table in a suitable environment. Avoid exposing it to extreme temperature or humidity conditions, as they can lead to warping or other damage. Proper storage helps maintain the integrity of the playing surface over time.
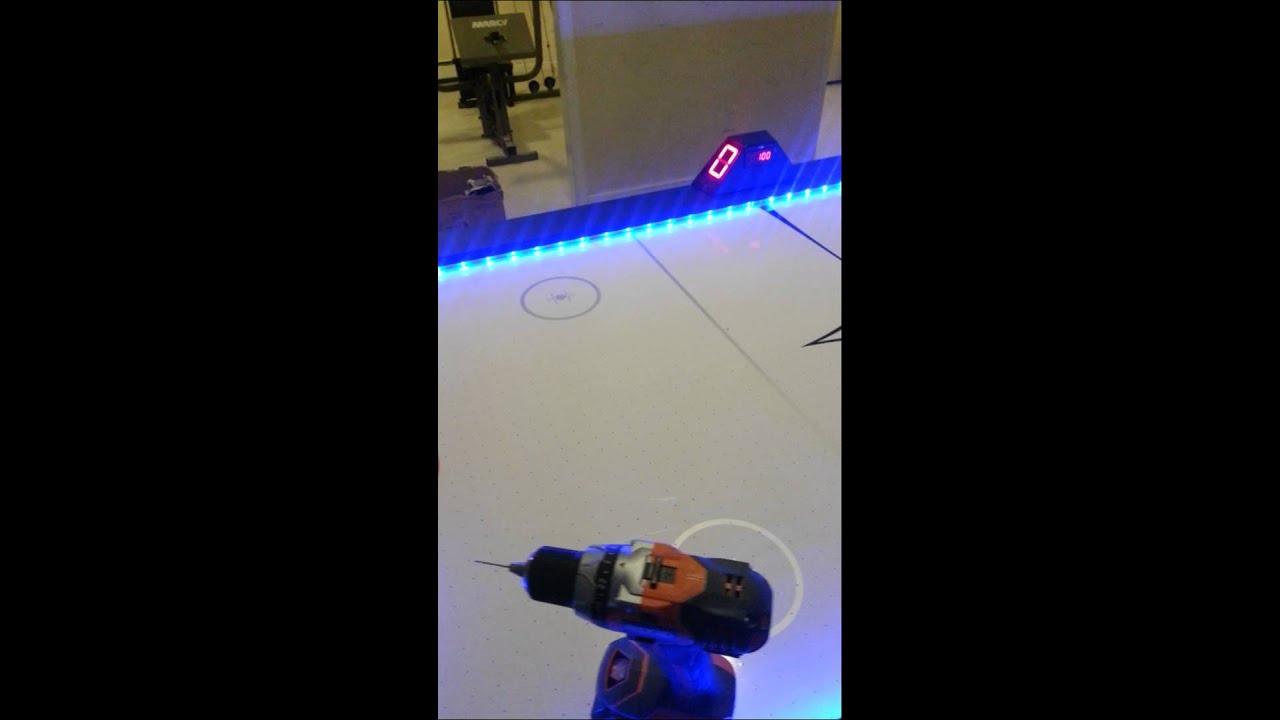
How to clean and repair air hockey table part 1
Professional Air Hockey Table Repair Services
While many air hockey table surface repairs can be accomplished through DIY methods, there are instances where seeking professional assistance is the best course of action.
Professional technicians have the expertise, experience, and specialized tools to handle complex repairs, ensure optimal results, and prevent further damage to the table. Here's a closer look at when it's advisable to seek professional assistance for air hockey table surface repair:
- Extensive Damage -If the air hockey table surface has extensive damage, such as deep scratches, major chips, or significant warping, it's recommended to consult a professional. These professionals can accurately assess the damage and provide expert advice on the most effective repair methods. They have the knowledge and skill to handle intricate repairs, ensuring the best possible outcome.
- Specialized Repairs -Certain repairs may require specialized techniques or tools that are not readily available to the average person. For example, if the table surface is made of a unique material or has intricate design features, professional assistance may be necessary. These specialists have access to specialized equipment and materials, allowing them to execute precise and seamless repairs.
- Warranty Considerations -If your air hockey table is still under warranty, attempting DIY repairs may void the warranty. In such cases, it's advisable to consult the manufacturer or authorized service centers to ensure that any repairs are carried out by professionals authorized by the warranty terms. This way, you can protect your warranty coverage while having the repairs done by experts familiar with the specific requirements of your table.
- Time and Efficiency - Repairing an air hockey table surface can be a time-consuming process, especially for individuals with limited experience or access to the necessary tools. Professionals, on the other hand, have the skills and resources to complete repairs efficiently. By entrusting the task to professionals, you can save time and ensure that the repair is done promptly and effectively.
- Restoration and Refinishing -If you're looking to restore or refinish an antique or vintage air hockey table, professional assistance is highly recommended. These experts have the expertise to preserve the table's authenticity, repair any structural issues, and refinish the surface to match the original appearance. They can also advise on proper maintenance practices to ensure the longevity of the restored table.
- Complex Structural Repairs -In some cases, the air hockey table may require complex structural repairs beyond the scope of surface damage. This could include repairing or replacing the motor, blower system, or electronic components. These repairs often require specialized knowledge and skills that professional technicians possess. Seeking professional assistance ensures that these critical components are repaired or replaced correctly, preserving the table's functionality.
People Also Ask
How Do I Repair Scratches On An Air Hockey Table Surface?
To repair scratches on an air hockey table surface, clean the area, fill it with an appropriate filler, allow it to cure, and then sand and smooth the surface. Finally, apply a new coating or polish the surface as needed.
What Is The Best Coating For Repairing An Air Hockey Table Surface?
The best coating for repairing an air hockey table surface depends on the material of the table. Common options include polyurethane or lacquer, which offer durability and a smooth finish. Choose a coating that is suitable for your specific table.
Can I Repair A Chipped Section On An Air Hockey Table Surface?
Yes, you can repair a chipped section on an air hockey table surface. Start by cleaning the area, fill it with an appropriate filler, allow it to cure, and then sand and smooth the surface. Follow up with applying a new coating or polishing the surface.
Is It Possible To Restore The Playing Surface Of An Air Hockey Table?
Yes, it is possible to restore the playing surface of an air hockey table. By assessing the damage, filling and repairing scratches or chips, applying a new coating, and regular maintenance, the playing surface can be rejuvenated for optimal gameplay.
Should I Seek Professional Help For Repairing An Air Hockey Table Surface?
Seeking professional help for repairing an air hockey table surface is recommended for extensive damage or complex repairs. Professionals have the expertise and knowledge to address intricate issues and ensure proper restoration of the playing surface.
Conclusion
By following proper air hockey table surface repair techniques and adopting a proactive maintenance approach, air hockey table owners can restore the playing surface and achieve optimal gameplay conditions. Repairing surface scratches, filling chips, applying new coatings, and maintaining the table regularly can revitalize the playing surface, providing a smooth and enjoyable gaming experience for years to come.

James Davis
Author
James Davis keeps you updated daily with the best shopping tricks, hacks, and frugal living tips that you won’t find anywhere else. He also talks and writes about creative ways to save money, job opportunities like clever ways to make money from home, great jobs for teens, and online jobs that pay well.
James also enjoys working on Social Media campaigns for major brands. He believes in creating a personal relationship between the brand and its consumers. He is very much into taking the corporate out of the brand and bringing it down to the level where consumers can feel comfortable interacting and taking the brand seriously.
Latest Articles
Popular Articles
